Tracing a scan
An old plan of the existing building, as a PDF, a scan, a screenshot or a photo of the paper, goes under the plan as an underlay. You give it its scale once, and then draw walls over it, snapping to the lines in the picture. The underlay is not part of the drawing: it can't be selected, doesn't show in 3D and prints only when you ask for it.
Bringing in a plan
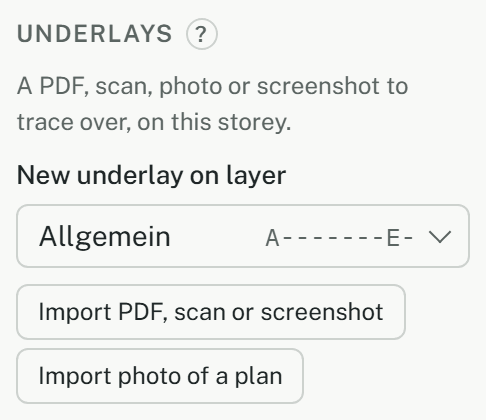
- In the side panel under Underlays, choose the layer under New underlay on layer. It becomes the active layer, and the picture goes onto it.
- Click Import PDF, scan or screenshot (or type UI) and choose a PDF, PNG or JPEG file. For a PDF with several pages, set Page (of n) and click Import page.
- The picture lies in the middle of the view, on the storey shown, and Fit underlay starts by itself.
- TIFF and HEIC can't be read by most browsers: save them as PDF, PNG or JPEG first.
- Only the picture's pixels are stored with the project, at most 6000 px on the long side. A phone photo loses its location data on the way. Importing needs a connection.
- A page of one of the project's own PDFs comes in through Page of a project document and Place page. The state's cadastral map comes through Fetch official map: see Site data from official registers.
A photo of a paper plan
Import photo of a plan (UP) first straightens the photo, so it can be traced like a scan.
- In Straighten the photo, check the four corners proposed. If no sheet was found, drag them onto the corners of the sheet; an enlarged view beside the photo shows exactly where a corner lies.
- Under Shape of the sheet, keep A series (A4, A3, A2 …) for a sheet of the A sizes, or choose Other: estimate from the photo.
- Click Straighten and import. What lies outside the corners is cut off. Import unchanged keeps the photo as it was taken.
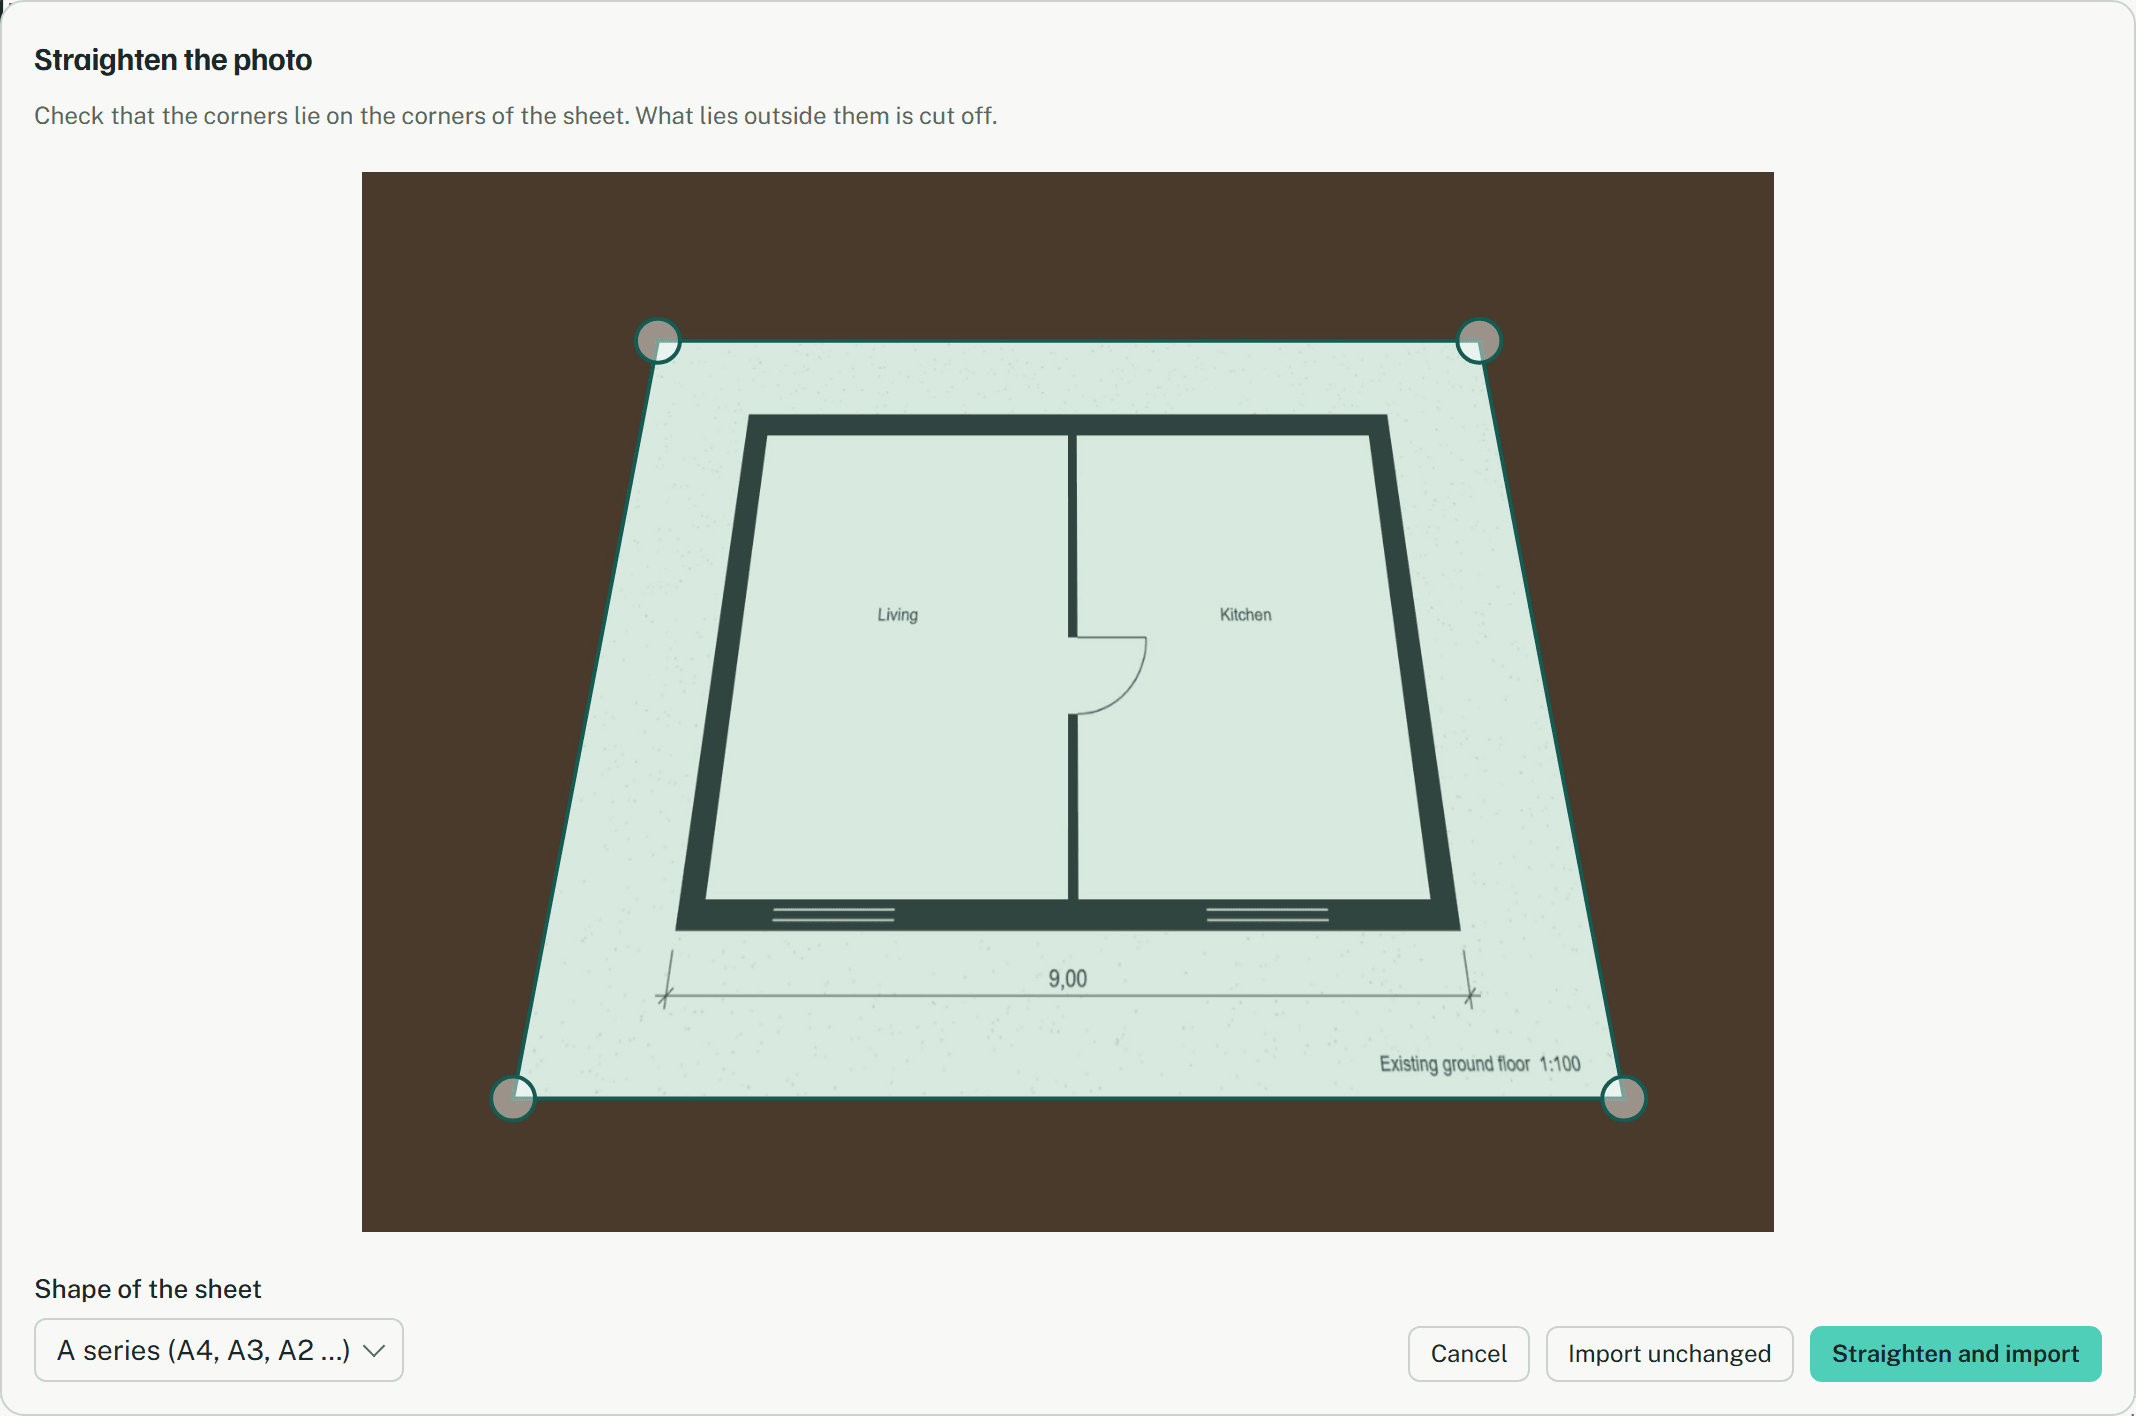
Only the perspective is corrected. A curled sheet or the bending of a wide lens stays, and an estimated shape is only an estimate: the Across step below corrects what is left.
Giving it its scale
Until it has a scale, the underlay's size is a guess, and its row says No scale yet: its size is a guess. Fit underlay (UF, or Fit in its row) goes through four steps, each one undo step. Enter skips a step you don't need.
- Scale: click both ends of a distance you know on the picture, such as an outer wall with its dimension, and type the real distance in mm.
- Across: if the scan is stretched, measure a second distance across the first in the same way. Scanners and copiers often stretch paper a little more one way than the other.
- Straighten: click two points along a wall; the picture turns so that the wall lies on the nearest axis.
- Position: click a point on the picture, such as a building corner, then where it belongs in the model, or type it as x,y. That point snaps to the model, so a corner of the scan lands exactly on a corner of the drawing.
Tracing over it
Draw as usual, with walls, lines or the other tools. While the underlay's layer is the active layer, the lines found in the picture can be snapped to: corners where they cross, their ends, square to them and along them. The marker for such a point is dark teal instead of the usual rust, because a point on a scan is only as good as the scan.
- A thick wall in the picture gives its two faces, a thin line one line along its middle. Arcs aren't found, and a hatch can get in the way: switch off Snap to its lines in the underlay's row.
- Points on the picture give way to Ortho (F8): a scan is never quite square, so with Ortho on the picture only says where to stop along the ortho line, and the wall stays straight. Grid snap (F9) switches them off.
- The layer the wall goes on doesn't matter: only the active layer decides which underlay's lines are offered.
The underlay's row
Each underlay has a row under Underlays, grouped by its layer.
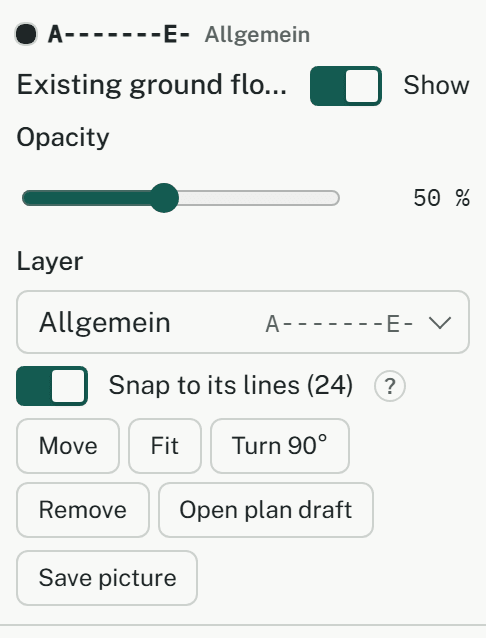
- Show, Opacity (50 % at first) and Snap to its lines are only for you, in this browser.
- Layer puts the underlay on another layer. Each layer can hold its own scan, such as the existing ground floor on one and the upper floor on another. A hidden layer hides its underlays, and a locked one keeps them where they are. A layer holding an underlay can't be deleted.
- Move (UM) moves it without turning or scaling it: drag it, or click a point on it and then where it belongs, or type @dx,dy. The target snaps to the model. The tool stays on until Enter.
- Turn 90° turns a page scanned on its side. Remove takes away only its placement; the file stays with the project.
- Save picture downloads the stored picture as a PNG or JPEG file, a PDF page at the resolution it was imported.
Move, Fit, Turn 90°, Remove and the layer change the model for everyone, with undo and history.
Printing
An underlay prints only when the print dialog asks for it, with Print the underlay too; the sheet will say it isn't verified, and only once it has a scale: one without a scale would look true to scale beside the scale bar. It prints grey and faded under the drawing, cut to the plan area, and the sheet says "Contains an underlay: not verified, do not measure from it." See Printing a plan to scale.
Limits
- The traced plan is only as accurate as the scan and the distance you measured. Check a few known dimensions with Measure (MEA) before you build on it.
- The underlay has no free rotation: Straighten and Turn 90° are the turns there are. It can't be renamed or moved to another storey.