Getting started
The first hour in arcraum: your office and its originator code, your first project with its stages, its first model, and the editor. The first steps list and the practice house help with the first walls.
Your office
The first time you sign in without an office, arcraum asks you to Create your office:
- Office name: the name your office goes by. The Workspace ID is filled in from it.
- Originator code: two to six letters or digits for your office, e.g. MAR. Under DIN EN ISO 19650 it is part of the name of every model and drawing. You can leave it empty here, but a model can't be created without it.
- Create office. Projects, drawings and members belong to this office.
If a colleague invited you, you open their invitation link instead and join their office.
Your first project
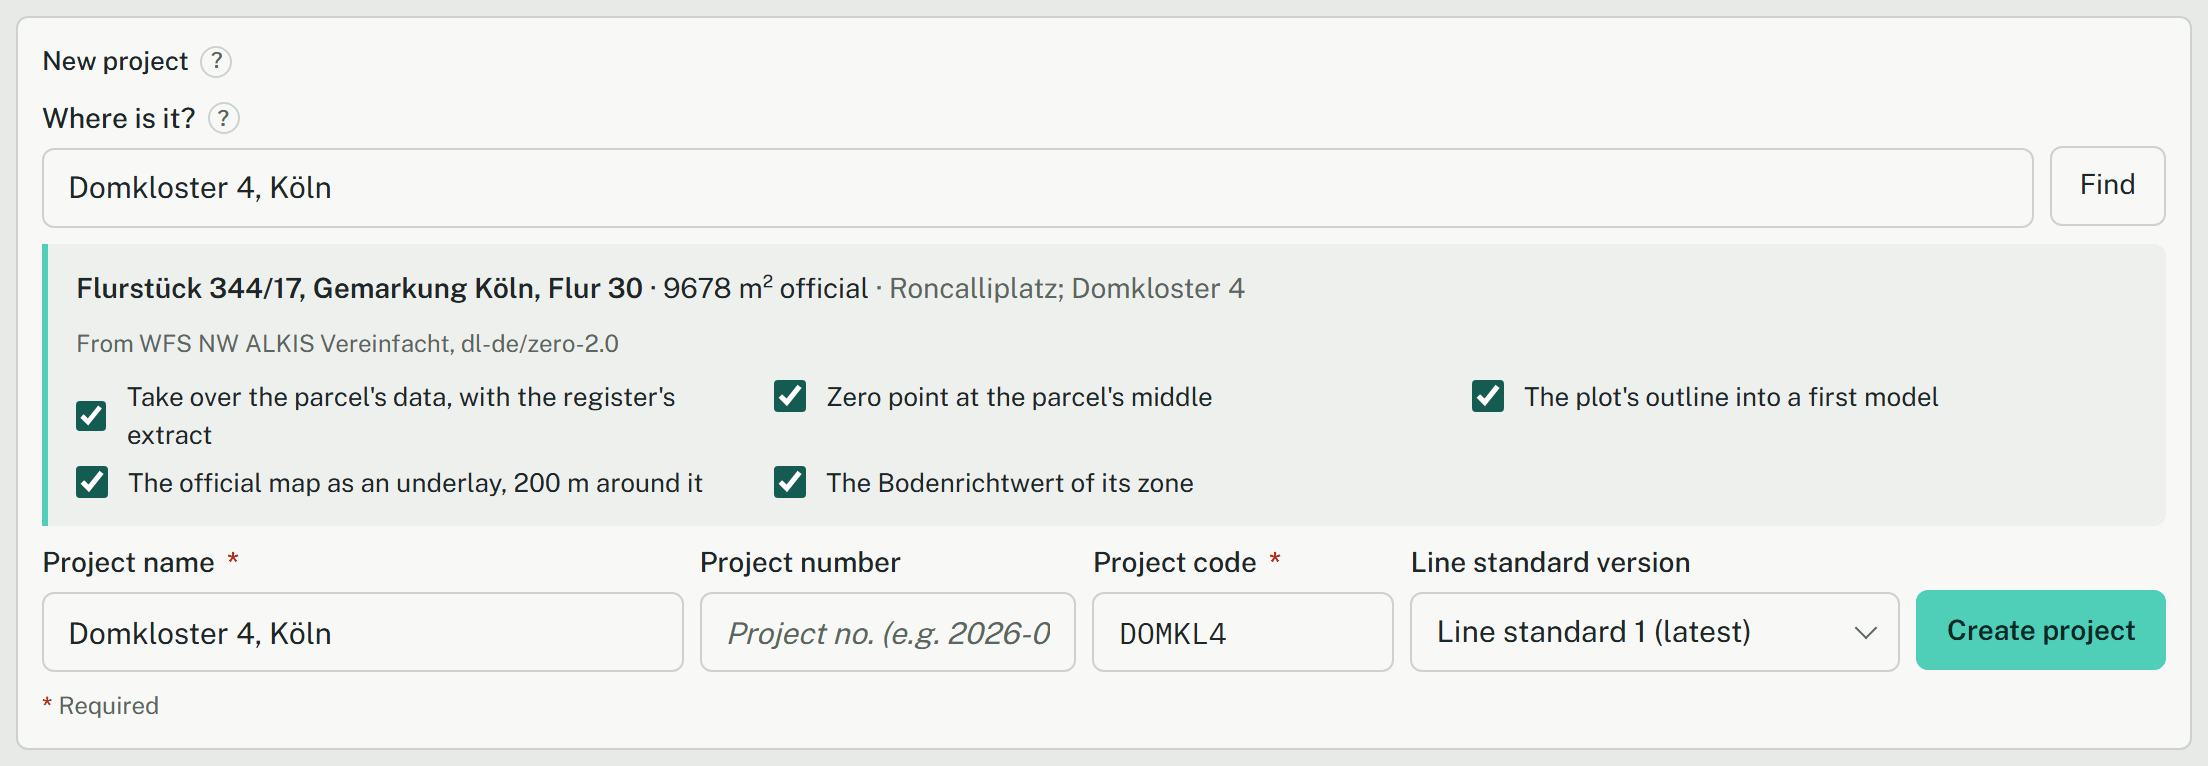
- On the Projects page, fill in New project. Only the Project name is needed. Where is it? comes first, and it is worth it: give the address (Nordrhein-Westfalen and Hamburg have an official address search), a Flurstückskennzeichen or a position from the state's map viewer, and Find. Tick what to take over (the parcel's data, the zero point, the outline into a first model, the official map, the Bodenrichtwert), and the project starts with its plot drawn. See site data.
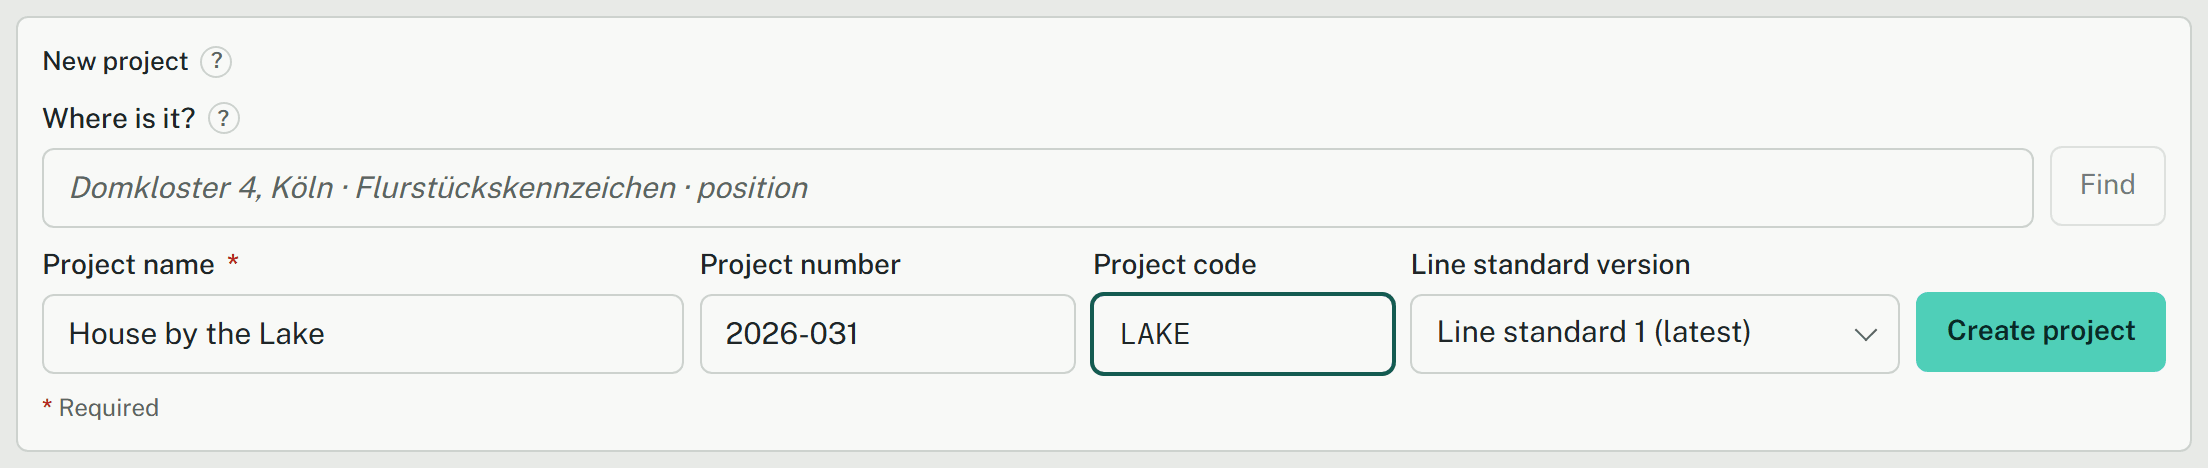
- Add the Project number your office uses (each one only once in the office), and a Project code of two to six letters or digits, e.g. KITA. The code is the first part of every model name, and a model needs it.
- Line standard version: the latest is preselected. The project draws with this version until its lead upgrades it.
- Create project. It gets a site, a building and the storey EG at ±0.00, named in your language. You lead the projects you create.
The project's Settings (on its card, or on its overview) hold the rest. Under General, Current stage is the Leistungsphase the project is in. Under Stages and contract, tick the stages the contract commissions and add their planned dates. Save changes in the bar at the bottom saves the whole page. Only the project lead changes the stages.
Your first model
A model holds what you draw. One model per building is a good start.
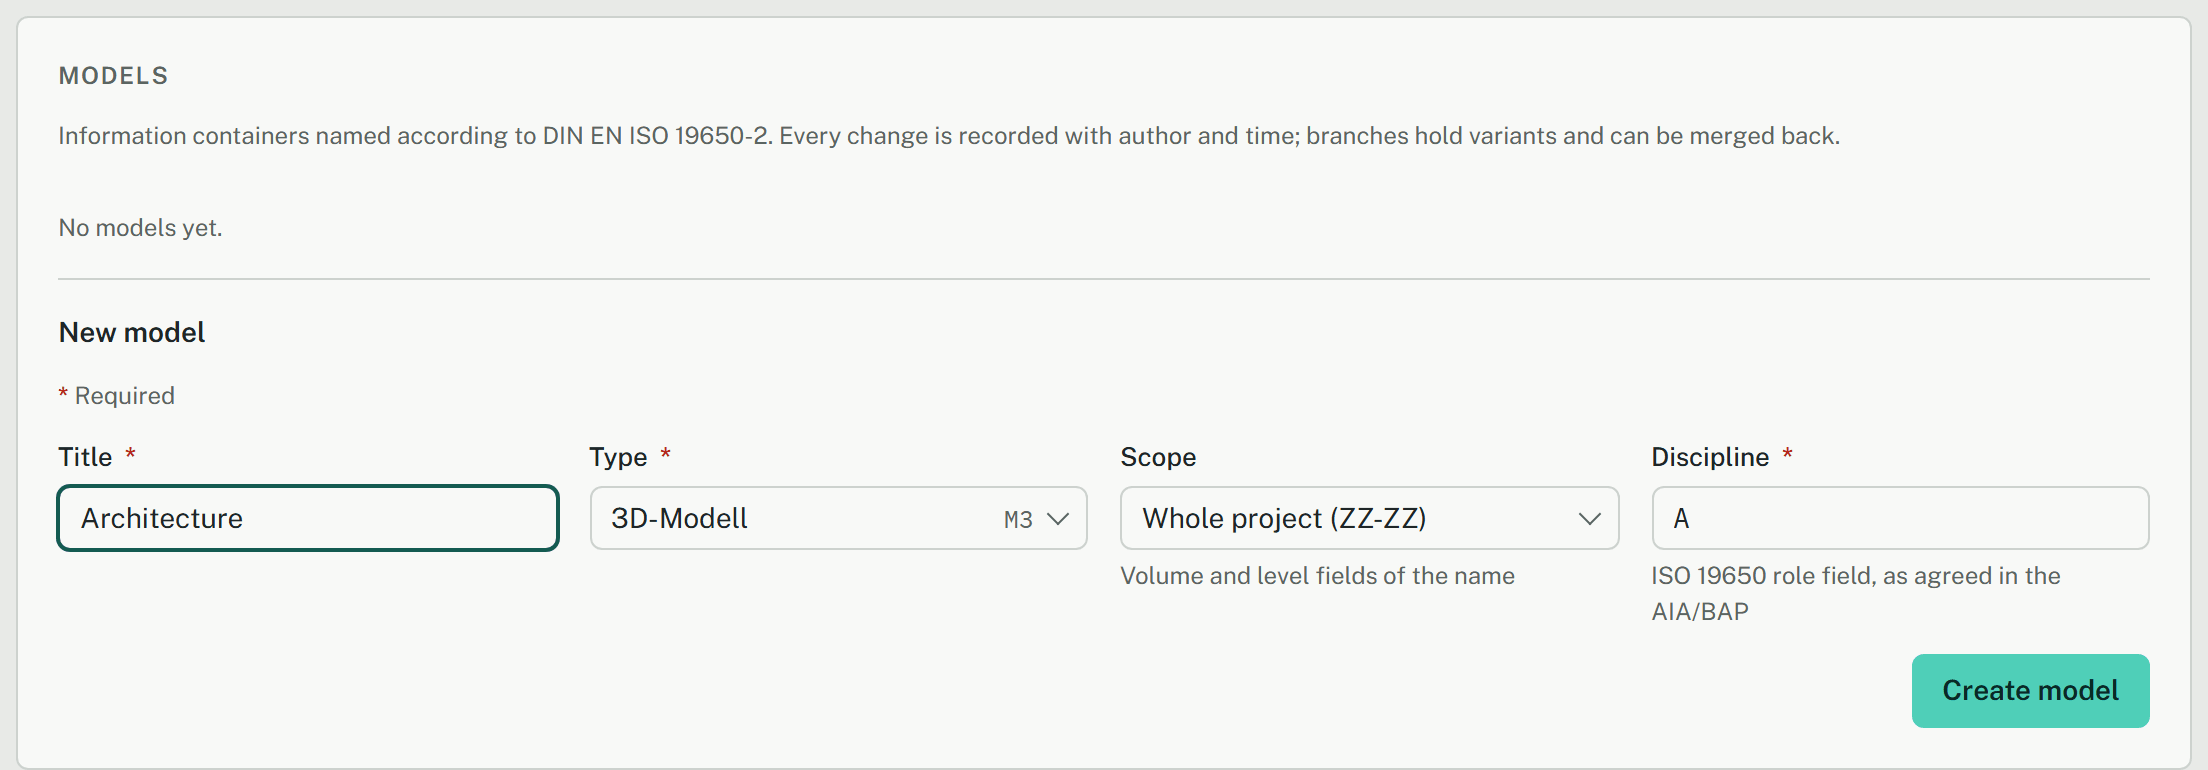
- In the project's Settings, go to Models and fill in New model.
- Title, e.g. Architecture. Type 3D-Modell (M3) for a building. Scope: the whole project, a building or a storey. Discipline A for architecture.
- Create model. Its name follows ISO 19650 from the codes, e.g. LAKE-SNA-ZZ-ZZ-M3-A-0001, and stays as it is if a code changes later.
A new model starts with the layers of your office's layer standard.
The overview
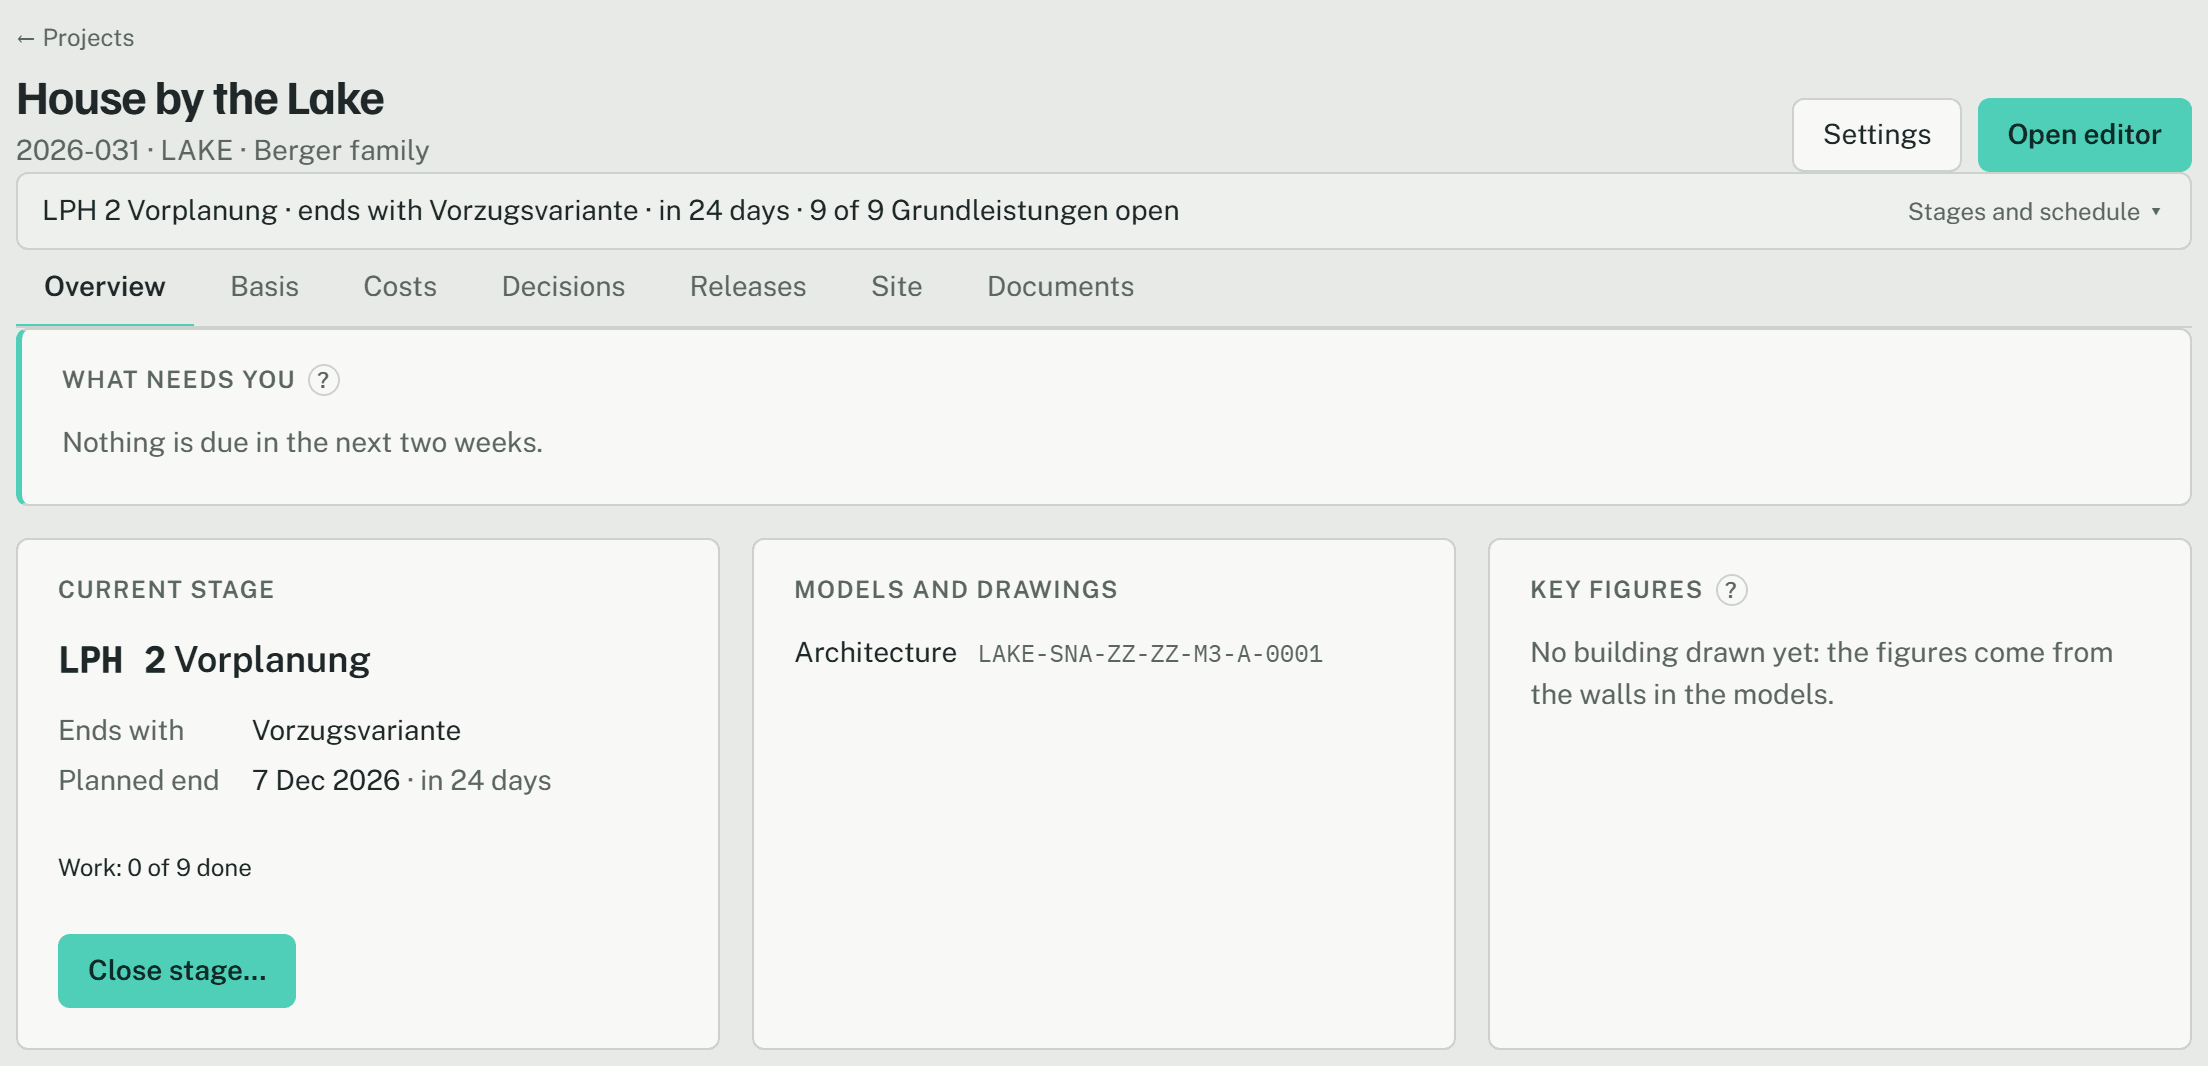
A project you lead opens on its Overview: a line saying where it stands (click it for the stages as a band), the areas of the project as tabs, what needs you, the current stage with what ends it and its planned end, and the models, each opening in the editor. Until the commissioned stages are recorded, it asks for them. Members who don't lead the project open it straight in the editor, unless they have work on site there (an open work item of LPH 8 or 9 they are responsible for, or open defects they recorded): then it opens on its Site area. The card on the project list offers the other way, Overview or Editor.
The editor at a glance
Open editor opens the model.
- The top bar shows the path: project, model, branch. In a narrower window they head the side panel instead.
- The toolbar holds the tools. Rest the pointer on a button and its card shows what it does, step by step.
- The command line at the bottom takes commands and coordinates: W Wall, D Door, R Room, then Enter. Its prompt says what the tool wants next.
- The side panel has two tabs: Properties (the selection, its properties and the history) and Knowledge.
- The status bar says whether everything is saved: All changes saved.
- Split in the top bar puts 3D beside the plan.
First steps
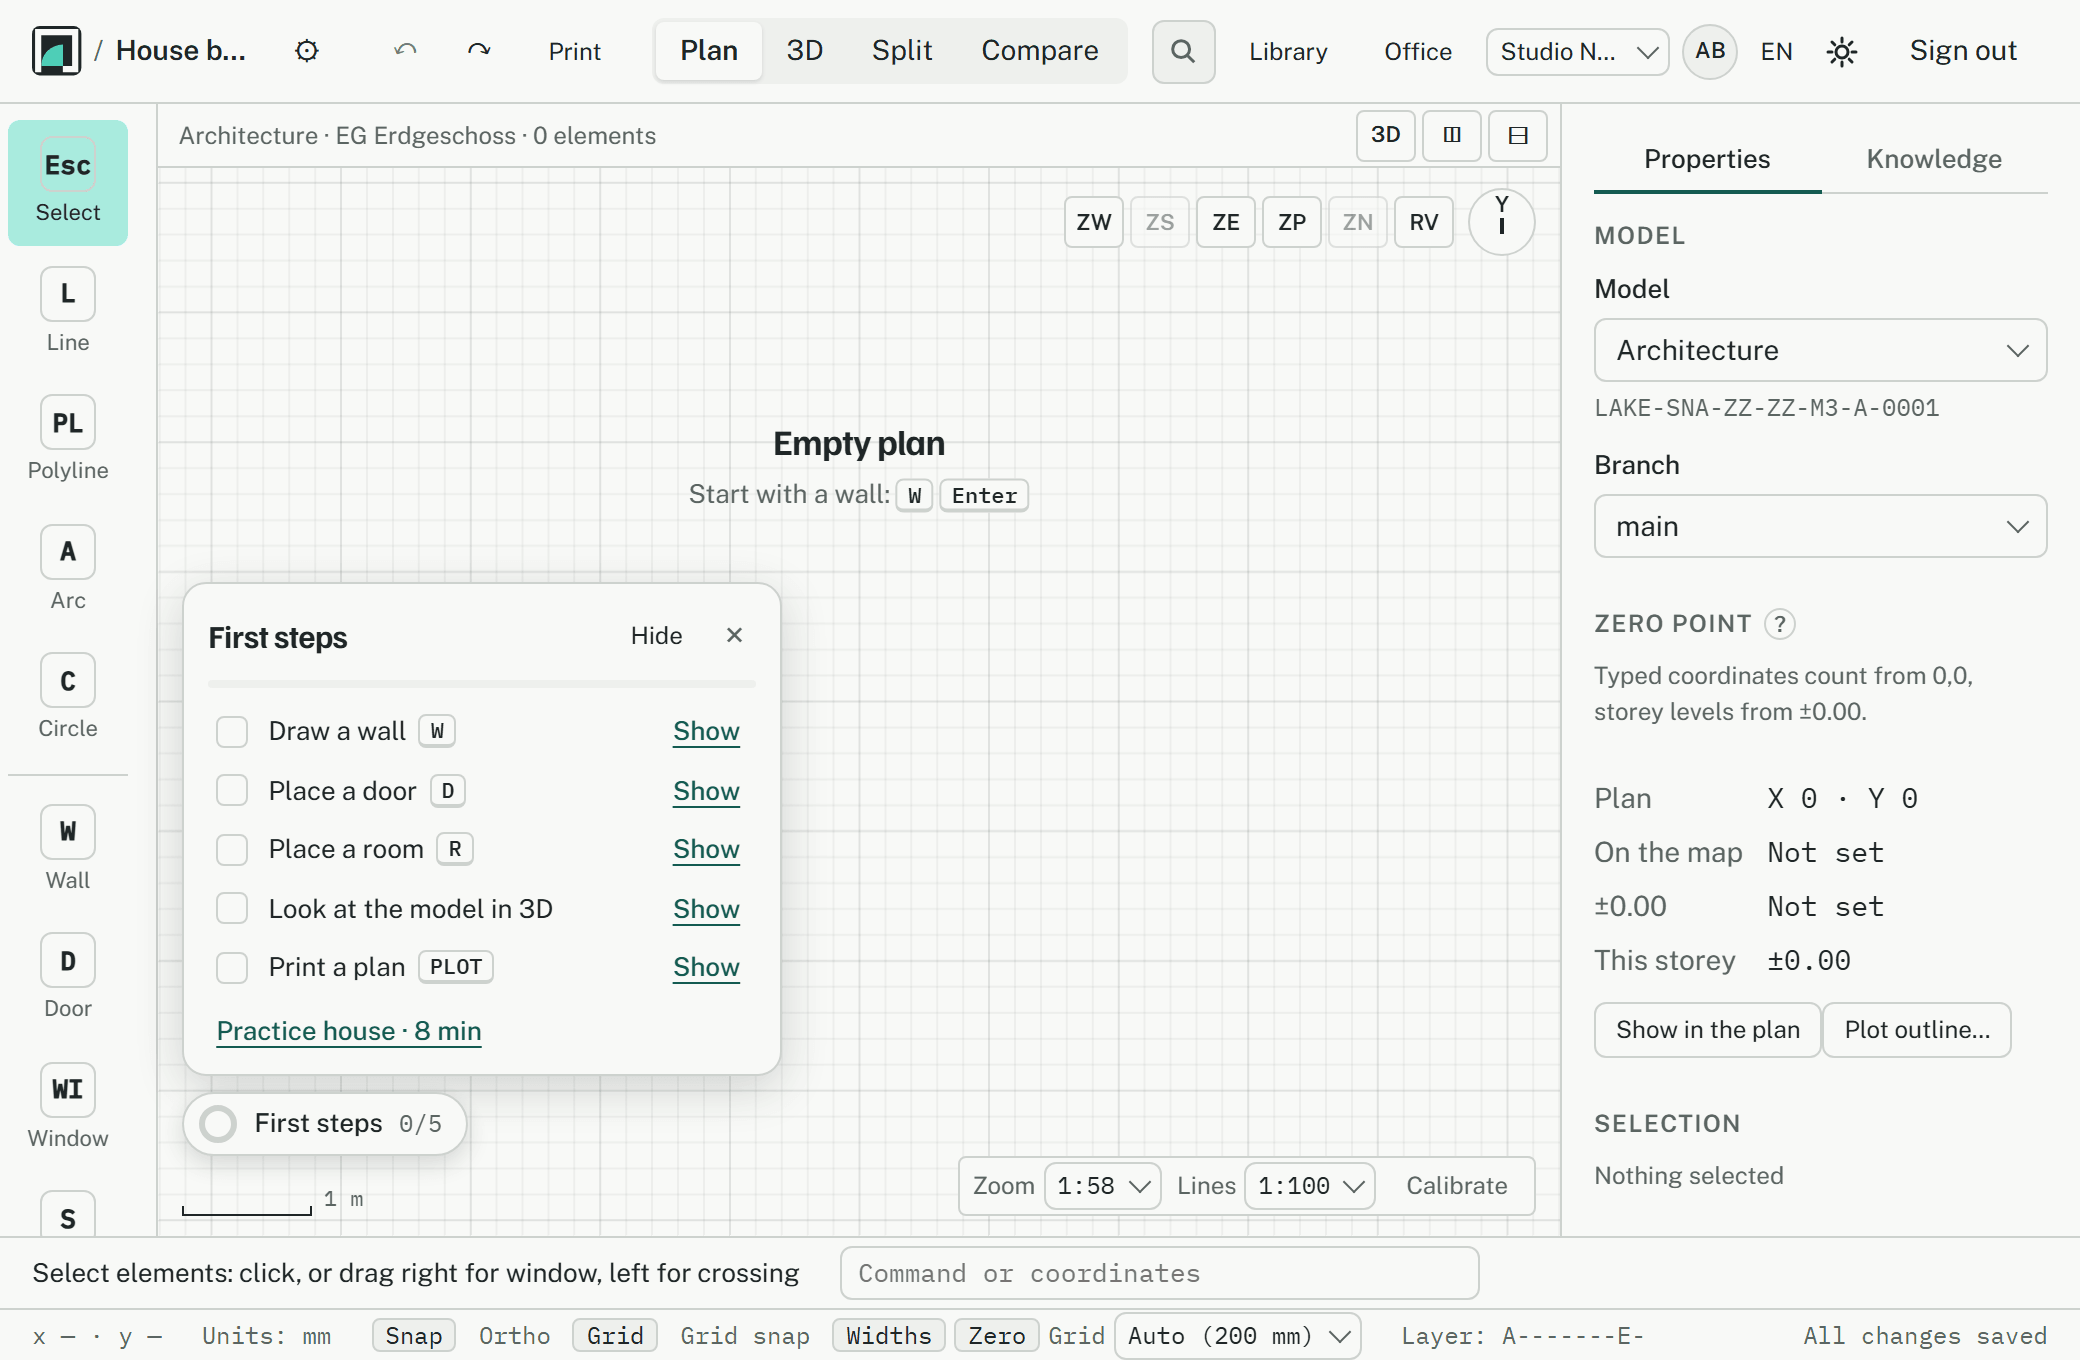
On an empty plan, while tips are on, arcraum says how to start: Start with a wall, W and Enter. Show first steps opens a short list, which the chip First steps at the bottom left opens too:
- Draw a wall, Place a door, Place a room, Look at the model in 3D, Print a plan.
- Each one ticks itself off as you work. Show lights the button it is done with.
- Where you can only look (a phone, or a model you may only read), the list is Look at the model in 3D, Select an element and Print a plan.
The first time something happens, a tip appears at the bottom right under Good to know, once. Got it puts it away, No more tips turns them off.
The practice house
The practice house is a small garden house to draw with the real tools, in a project of its own: about 8 minutes, and your projects stay untouched.
- Start practice on the Practice house card of the project list, or Practice house · 8 min at the end of the first steps list.
- A dashed outline, 4.50 × 3.00 m, shows where the walls go. Six tasks lead from there: Draw the walls, Place a door, Place a room, Select a wall, Look at it in 3D and Print the plan.
- Skip does a task for you, with the same tools. End practice leaves it; the garden house stays.
The practice project isn't in anyone's project list, yours included. Its card says Continue practice and Delete practice house. Not now puts the offer away; it also goes once you have a project of your own.