Layers to DIN EN ISO 13567
Every element in a model lies on a layer. Layers in arcraum follow DIN EN ISO 13567: the name is built from fixed fields, and the element field holds the DIN 276 cost group. The office keeps one layer standard; each model has its own layer table, copied from it.
How a layer name is built
A layer is stored as separate fields, and its name is put together from them. Three fields are required:
- Agent responsible, 2 characters: A- for the architect, S- for the structural engineer, E- for the electrical engineer and so on.
- Element, 6 characters: the DIN 276 cost group, such as 331--- for load-bearing external walls. ------ is a layer for no particular element: general lines, text, dimensions.
- Presentation, 2 characters: E- element graphics, T- text, H- hatching, D- dimensions, G- grid, U- construction lines, V- title and notes.
Then optional fields: Status (1 character: N new, E existing to remain, R to be removed, as permit drawings need), Sector (4), Phase (1), Projection (1), Scale (1), Work package (2) and User defined (free, without spaces).
Type a field short and in lower case: arcraum upper-cases it and fills the rest with -. Unused optional fields at the end are left off, so the shortest name has 10 characters: A-331---E-. With status new it is A-331---E-N. The fields offer the usual codes as you type.
The office layer standard
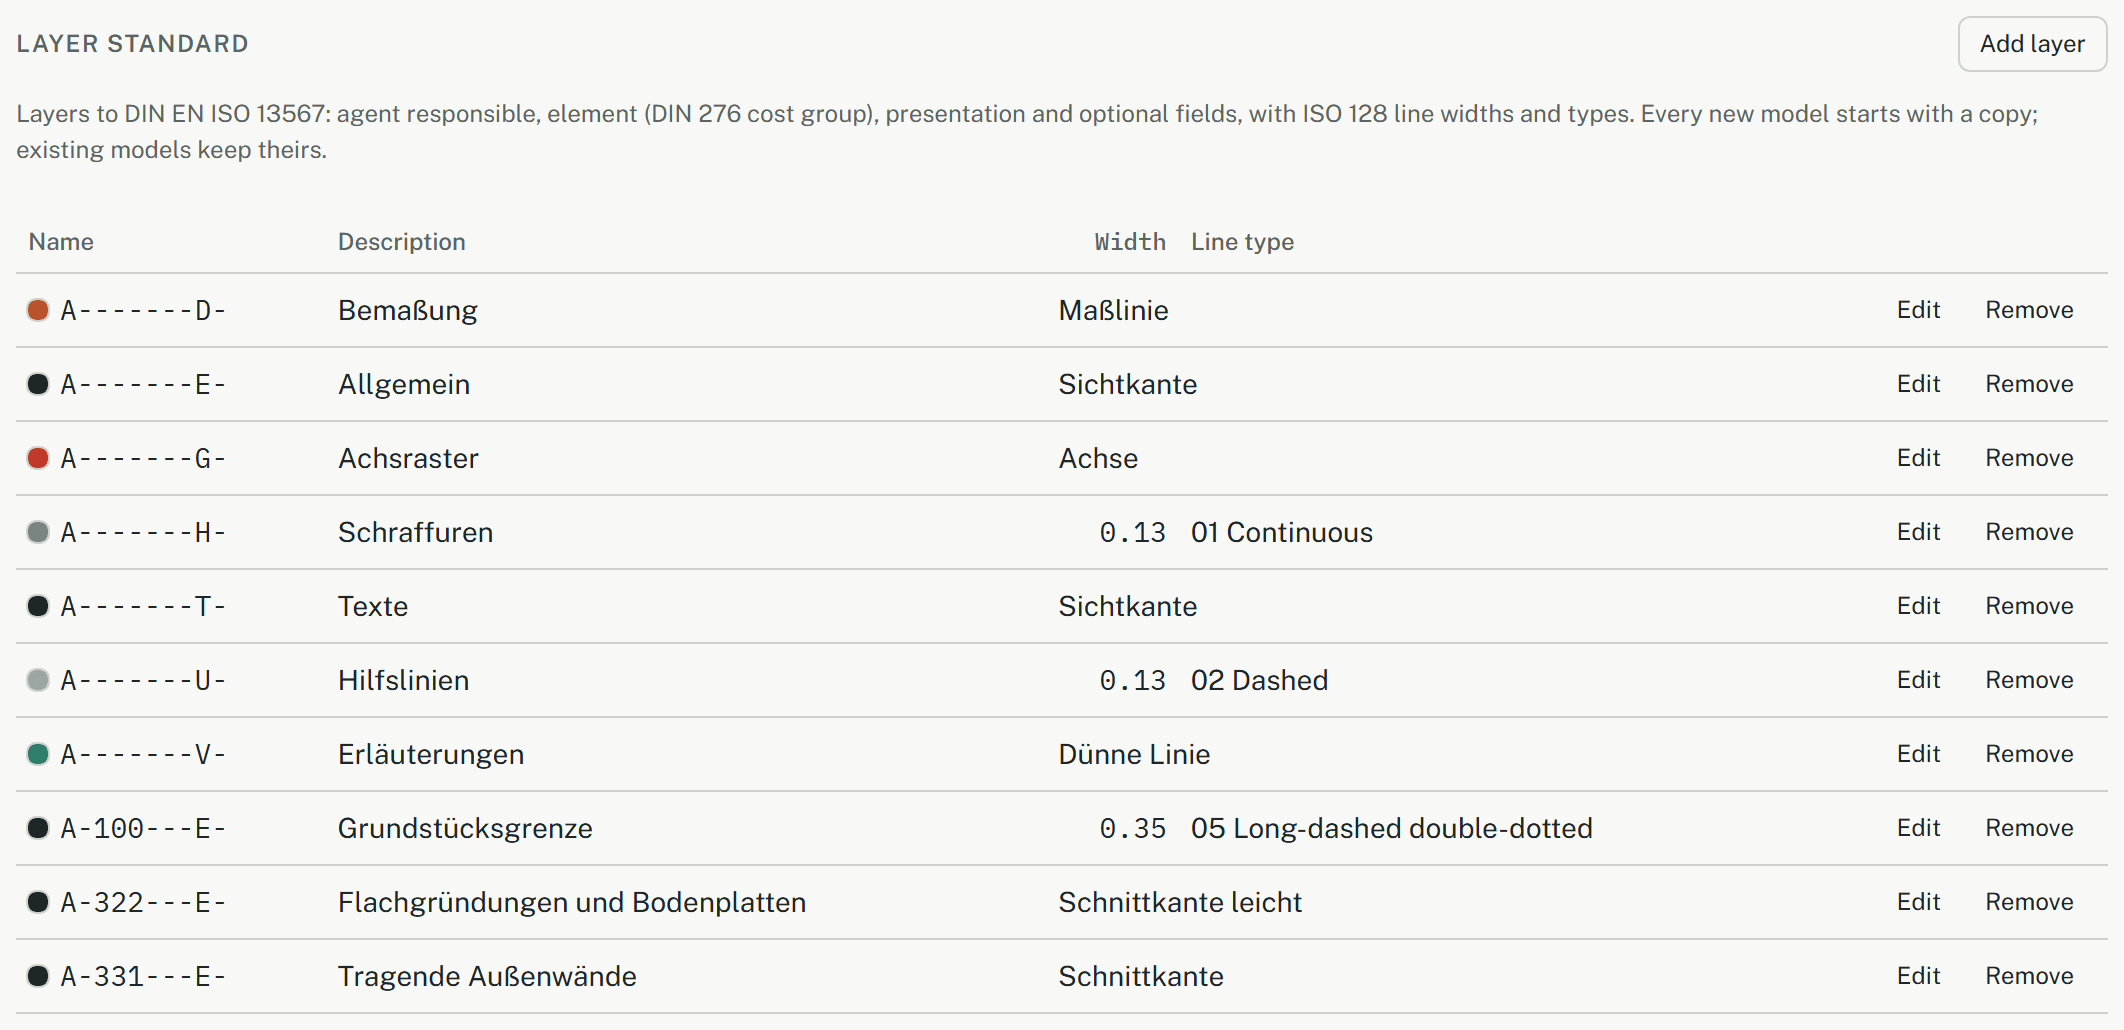
Library in the top bar, tab Standards, holds the office's Layer standard, above the line standard. Everyone in the office but guests reads it; owners and admins add, change and remove layers there with Add layer, Edit and Remove.
- Each layer has a description and a line width and line type of ISO 128, or picks a Line style of the office line standard.
- A new office starts with a set of default layers: general, the walls and openings by cost group (331 to 344), base slabs, slabs, roofs, fittings, hatching, text, explanations, dimensions, axis grid and construction lines. Their descriptions are written in the office's language when it is created, and are the office's own from then on.
A model's layer table
Every new model starts with a copy of the office's standard, as its first entry in the history: "Layer table from the office standard". From then on the table belongs to the model, for everyone who works on it.
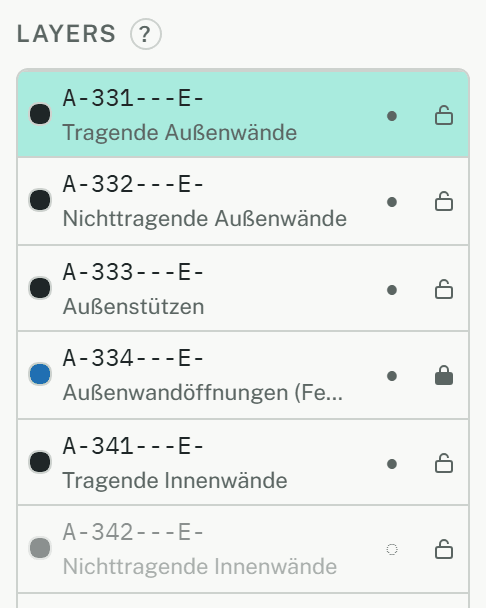
In the editor's side panel, Layers lists the table:
- A click on a layer makes it the active layer: new lines, polylines, arcs and other free 2D drawing go on it. The status bar names it ("Layer: A-------E-"). A new model starts on the general layer A-------E-.
- The dot hides or shows a layer. A hidden layer isn't drawn, picked or snapped to.
- The lock locks a layer: it stays visible and can be snapped to, but its elements can't be selected.
- New layer adds one to the table, the edit button changes the active layer's fields, description, line style and colour, and Delete removes it while nothing on any storey lies on it. These are changes to the model: they have undo and history. A project can't give a layer a width or line type of its own; it picks a line style of the office.
What hiding does not change:
- Walls on a hidden layer still count for the areas, so hiding never changes the area schedule.
- Hiding the layer of doors and windows closes their gaps in the walls, as if they weren't there.
- In the print dialog, All layers beside each storey leaves layers out of a print. A layer hidden on screen isn't offered there and stays out (see Printing a plan to scale).
Which layer an element goes on
Building elements find their layer by their DIN 276 cost group: the layer whose element field holds the code, with presentation E-. If the table has none, they go on the active layer.
- A wall takes 331, 332, 341 or 342 from External and Load-bearing, set on the command line before drawing or later under Selection.
- Doors and windows take 334 in an external wall and 344 in an internal one; slabs 322, 351 or 361 by their type; roofs 361.
- Rooms go on the text layer A-------T-, dimensions on A-------D-, notes on the explanations layer A-------V-, hatches on A-------H-. Terrain points, notes and objects get their layer added to the table with the first one, if it is missing.
To put elements on another layer, select them and choose under Layer in Selection: one step, in the history as, say, "Put 2 elements on layer A-342---E-". A layer chosen by hand stays when External or Load-bearing change later; only an element still on its cost group's layer moves along.
Line styles
Walls, doors, stairs and other building elements take their lines from the office line standard, not from the layer: the layer only organises, hides and prints them. Free 2D lines take the line style of their layer. Switching Widths off in the status bar draws every line one pixel wide, for a dense plan; it changes only your screen.
Models without a layer table
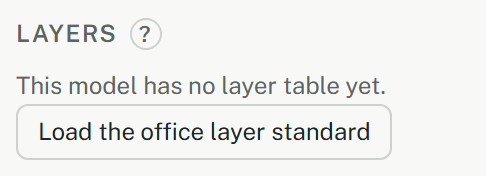
Models from before layers existed have no table. Layers then says "This model has no layer table yet." and offers Load the office layer standard, which copies the office's layers into the model in one step, with undo.
Limits
- A model's layer table doesn't follow later changes of the office standard; add a new layer in the model by hand.
- There are no layer filters or groups yet, and layer tables of DWG or DXF files aren't imported.
- A layer is hidden for every pane of the model alike; per-view layers come with views and sheets.