Looking at the model in 3D
The 3D view shows the model as you draw it, on every storey, and follows each change. It is a view, not a drawing: you look around in it, look into the building and select elements, and nothing you do there changes the model or prints.
Opening a 3D pane
- In the top bar, choose 3D for a 3D view alone, or Split for the plan beside it.
- Any pane can turn into 3D: click 3D in its strip, and Plan to go back.
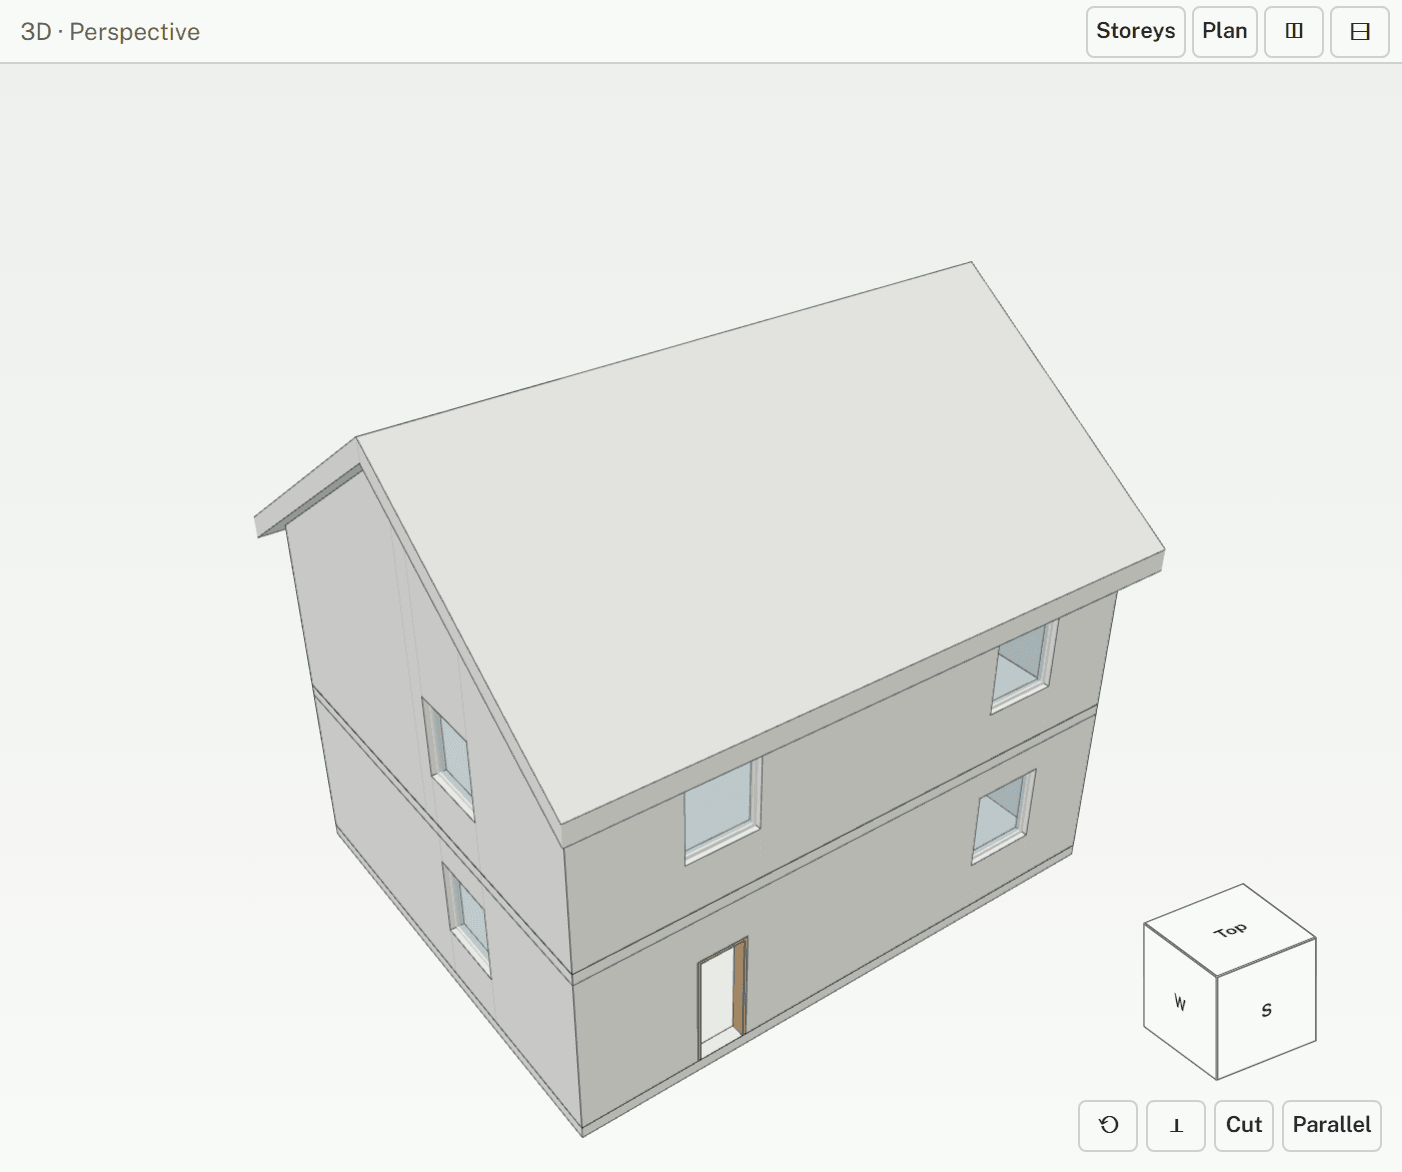
- The pane's strip names how it looks: "3D · Perspective", or "3D · Parallel · South" when it looks straight from one side.
Moving around
- Drag with the left mouse button to turn around the model, with the middle or right button to move it, and turn the wheel to zoom towards the pointer.
- On a touch screen, one finger turns, and two fingers zoom and move.
- Home fits everything into the view, looking from the side it looks from now; it also fits the active plan.
The view cube
The cube at the bottom right of a 3D pane turns with the view. Click a face, an edge or a corner to look from there: 26 directions.
- Its sides follow the compass of the plan: "S" looks at the south facade. North is the project's grid north, from Rotation under Zero point and georeferencing in the project settings. Without it, the sides read Front, Back, Left and Right; Front looks from the model's −y side.
- Looking from a side switches to Parallel: sizes don't shrink with distance, as in an elevation. Click Parallel again for perspective.
- Seen square on, the cube is flat, so arrows at its sides turn to the next face.
- ⟲ goes back to the starting view, from the front left and above, with everything in view. It leaves Parallel as it is.
Looking straight at a face
- Double-click a face of the model, a wall or a roof: the view turns to look straight at it, in parallel, about the point you clicked.
- On a touch screen, tap ⊥ (Look at a face) under the cube, then the face.
Looking into the building
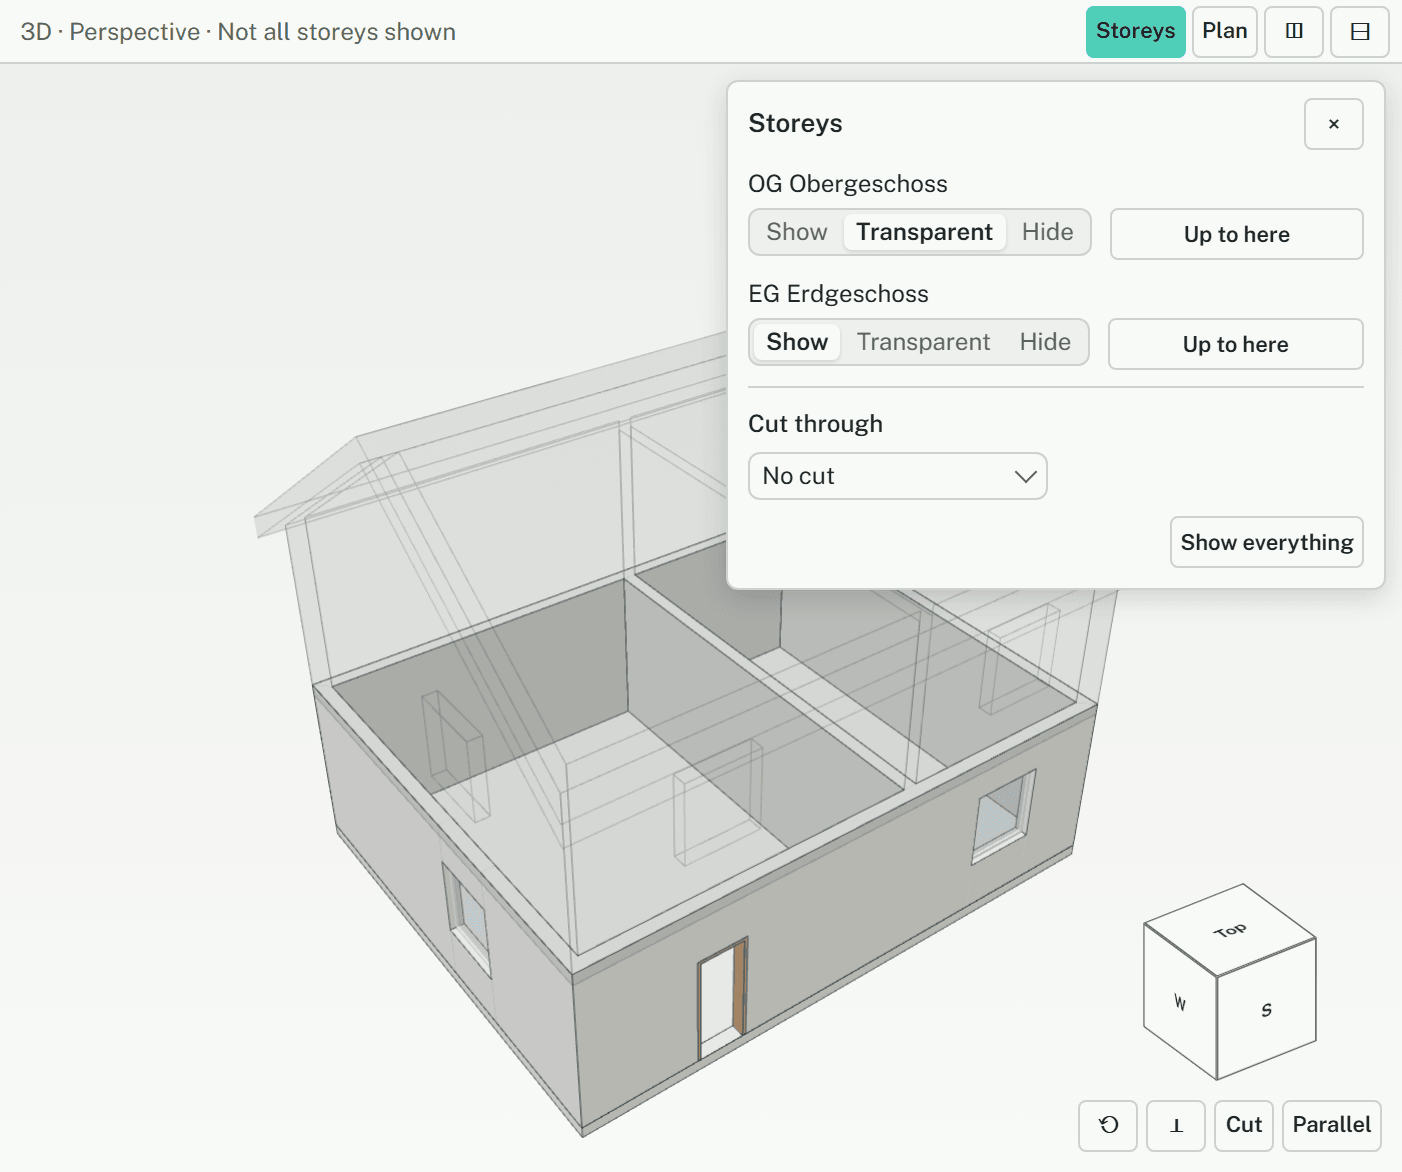
Storeys in the strip of a 3D pane opens a panel over the view. It stays open while you turn the view.
- Each storey has Show, Transparent and Hide. A storey with several levels is one row.
- Up to here shows that storey and those below it in its building, and hides those above: the ceiling comes off.
- Cut through cuts one storey at Height above the floor, 1.10 m at first, as in the plan. Everything shown is cut there and the cut faces are filled dark. It is the way into the top floor, whose roof belongs to it.
- Terrain shows or hides the ground, when the model has terrain points.
- Show everything puts it all back.
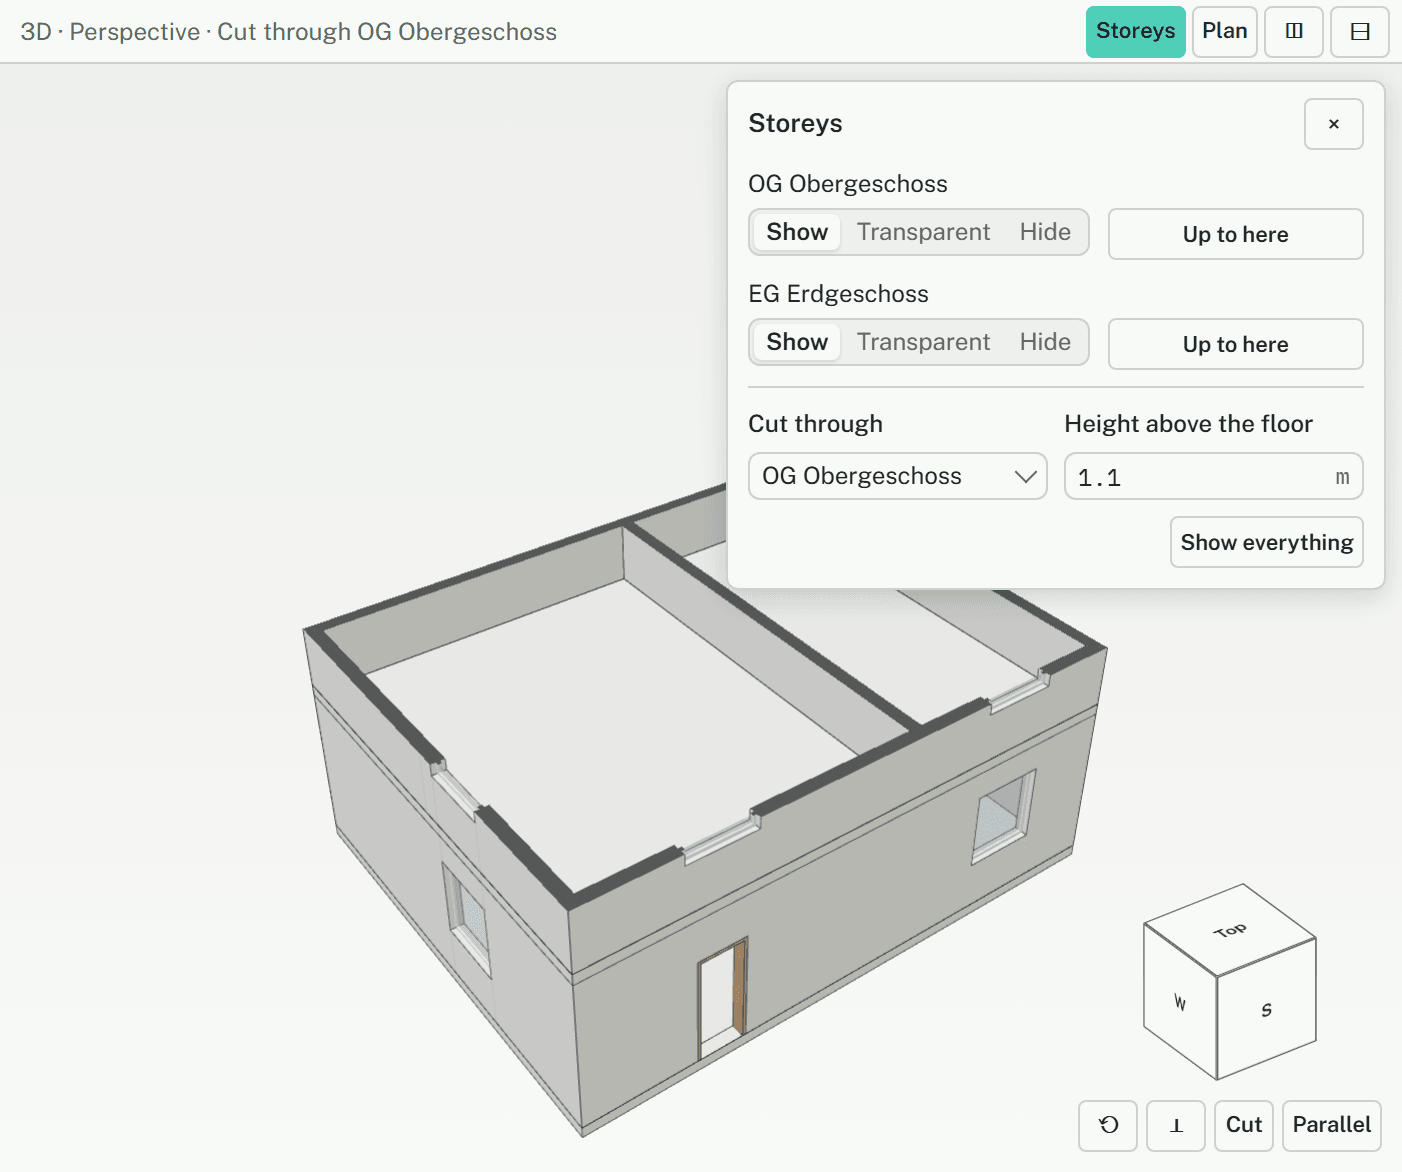
Cuts in any direction
Cut under the cube puts a quick cut on a face you click, and pushes it into the building with its arrow. A cut can be saved, given a bounding box for a small area, and turned into a section drawing: see Sections and details.
Selecting in 3D
- A click selects, as in the plan, and Shift+click adds or removes. The plan and the properties show the same selection.
- Only elements of the active storey, the one the plan shows, can be selected, because the selection belongs to that storey.
- Transparent and hidden storeys can't be clicked. A click on a cut face selects the element it belongs to.
Limits
- The 3D view shows; nothing in it prints. Elevations to print are drawn on a cut: Sections and details.
- After a change, the 3D view may follow the plan a moment later.