Parts and objects
A part is a drawing at true size that you place again and again: a window sill or a flashing in a detail, a washbasin or a table in a plan. An object is a part with a body: furniture and sanitary objects, which also stand in 3D. Every placed part is a copy of the project library's, so nothing you place changes by itself.
Placing a part
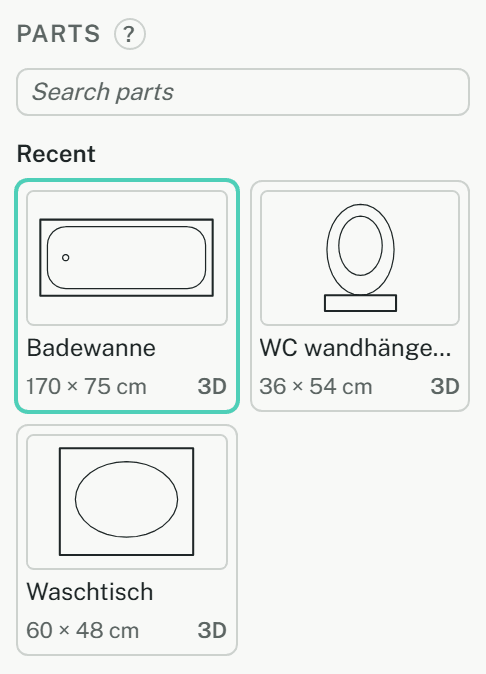
- Start Part (BT). While it runs, the Properties panel shows the project library's parts as pictures, by category, with the size of each in centimetres and "3D" on an object. Those placed last come first, under Recent; the search finds parts by name and category.
- Click a part's picture. The Part option on the command line chooses too.
- Click the point it goes to, or type it: its base point lands there.
- Click the direction its x axis takes, or type an angle in degrees; Enter keeps the last angle. The tool stays on for the next part.
Against a wall
With Against wall on (it is, unless you switch it off on the command line), point near a wall before the first click: the part shows standing with its back on the wall's face, on the side where the pointer is. One click places it there, turned along the wall. A typed point never jumps onto a wall; the direction is then asked as usual.
Turning, mirroring and sizes
- Before you place it, R turns the part by 90° and F mirrors it. Mirrored is an option too.
- Many parts have adjustable sizes, such as a washbasin's width or a bathtub's length. They are options of the tool, named as the office named them, and they stay within the part's limits.
- A selected part shows a grip at its far edge for each size. Drag it, or change the size, Angle and Mirrored under Selection; Reset sizes goes back to the part's defaults. Each change is one undo step.
Objects in 3D
An object stands on its storey's floor in 3D, as a simple body, so it also shows in sections. The plan keeps its drawn symbol. Under Selection it names its kind, its IFC class and its DIN 276 cost group: KG 412 for sanitary objects, KG 610 for furniture and appliances.
An object goes on the layer of its cost group (A-412---E- or A-610---E-). A model that doesn't have that layer gets it with the first such object, in the same step. In a drawing on a cut, where there is no storey, an object stays 2D.
Spaces to use objects
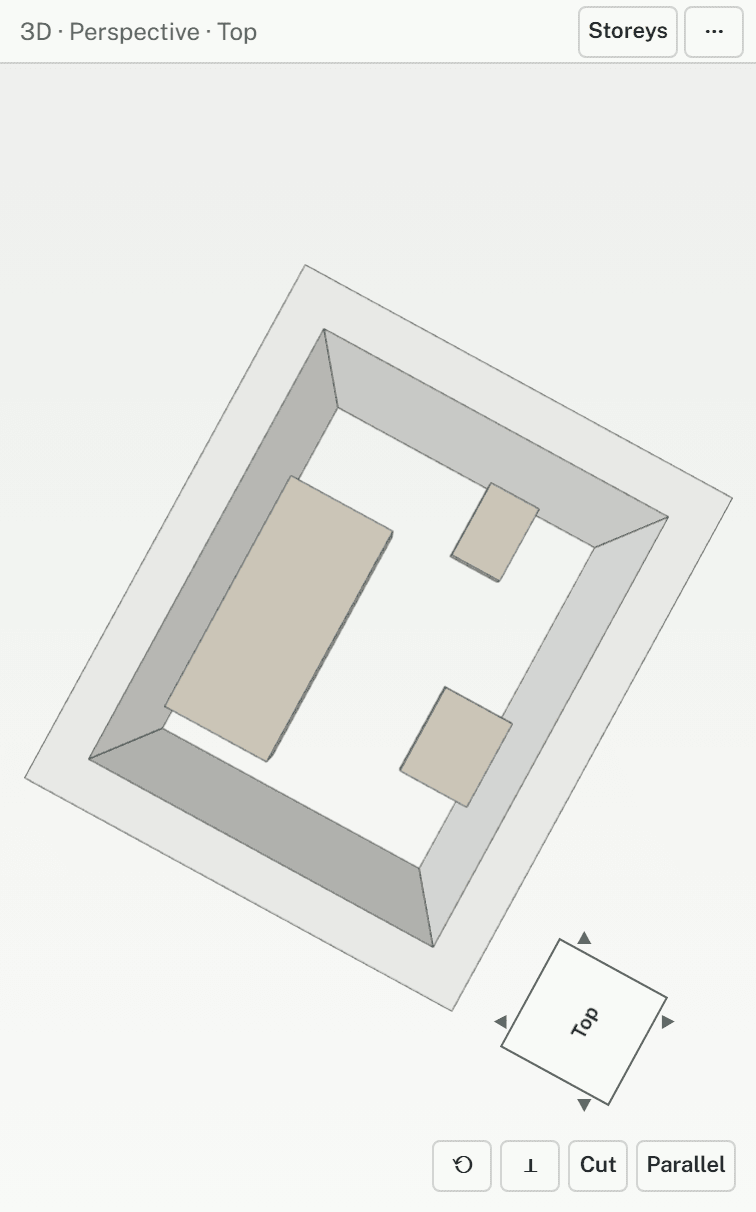
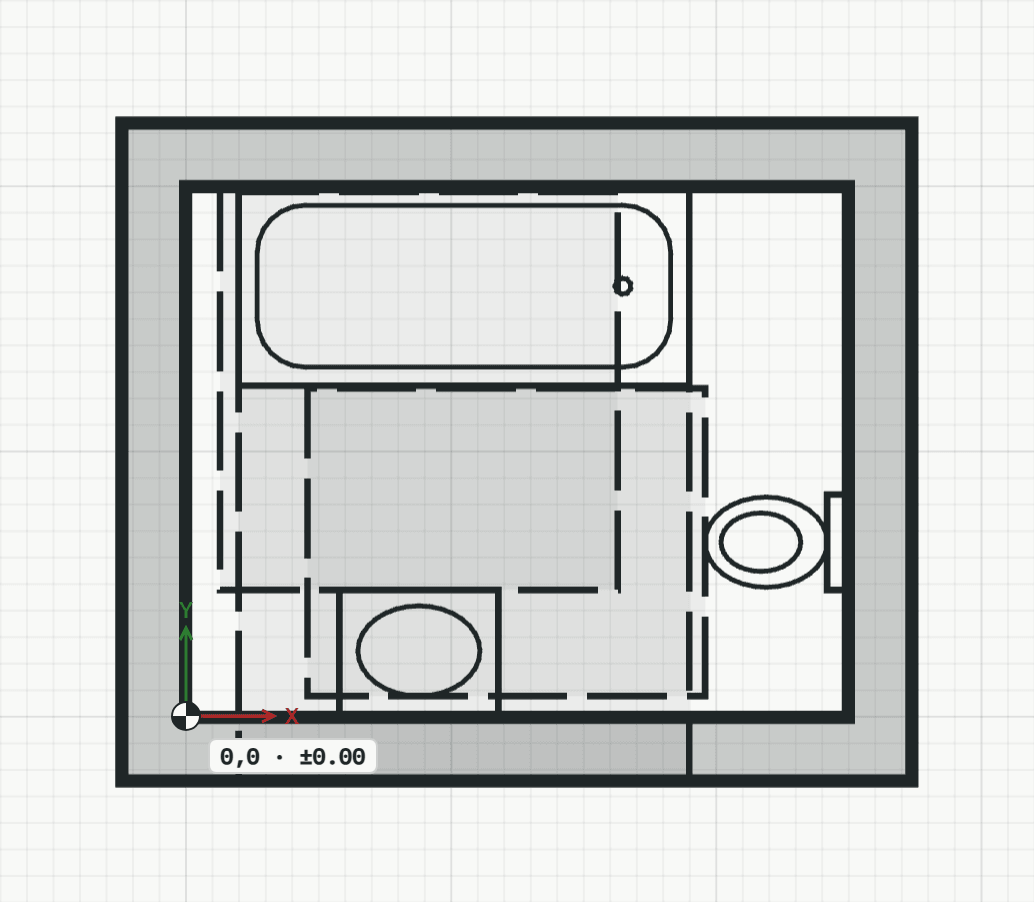
Most objects of the starter catalogue know the space they need in front of them to be used (Bewegungsfläche), in two variants: Usual, as in housing to DIN 18011, and Step-free, as DIN 18040 asks for.
- Spaces in the status bar shows them, dashed in every plan: Off, Usual or Step-free. An object without a step-free space shows its usual one. The choice is yours alone, in this browser.
- The status bar offers it once the model has an object with a space.
- The print dialog chooses its own under Spaces to use objects, off until you choose, so a print never follows the screen by accident.
- A space is only shown: it counts for no area and isn't in 3D.
Saving a drawing as a part
- Select the lines of the drawing, in a detail or a plan.
- Choose Save as part… under the selection, or type BTS.
- Give it a name and a category, and pick its Base point: a corner of the selection or its middle, along the coordinate system in use.
- Under Save as, choose A new part, or a new version of a part the project has. Then Save to the library, or Save the new version.
Lines, polylines, arcs, hatches, build-ups and parts can be in a part; anything else is listed as left out. Each line gets a pen from how it is drawn now: cut, visible, thin or hidden. So its weight follows the office's line standard at any scale.
The part is saved in the project library, by the project's editors. To offer it to every project, choose Propose to office library on the project library; owners and admins decide (see Office library and project library).
Newer versions
When the project library has a newer version of a placed part, a bar over the plan says "1 part has a newer version in the library". Show selects them and zooms to them. Take over updates them all in one step: place, angle, mirroring and sizes stay, sizes kept within the new limits. Nothing changes by itself. A part removed from the library is only reported.
Exploding a part
Explode under Selection replaces a placed part by its lines, hatches and fills, to change one piece alone. Each line goes on a layer that draws its pen; a layer the model lacks is made in the same step. An object's body goes: what is left is only 2D. Undo brings the part back.
To change a part for good, explode it, change the lines, and save them again as a new version of the same part.
The starter catalogue
Every office starts with a catalogue of standard parts, drawn by arcraum and named in the office's language: bathroom, kitchen, living, bedroom, step-free and office. Most are objects with a body, adjustable sizes and spaces to use them. They are the office's own copies: owners and admins rename, change or remove them on the Library page, tab Parts and objects.
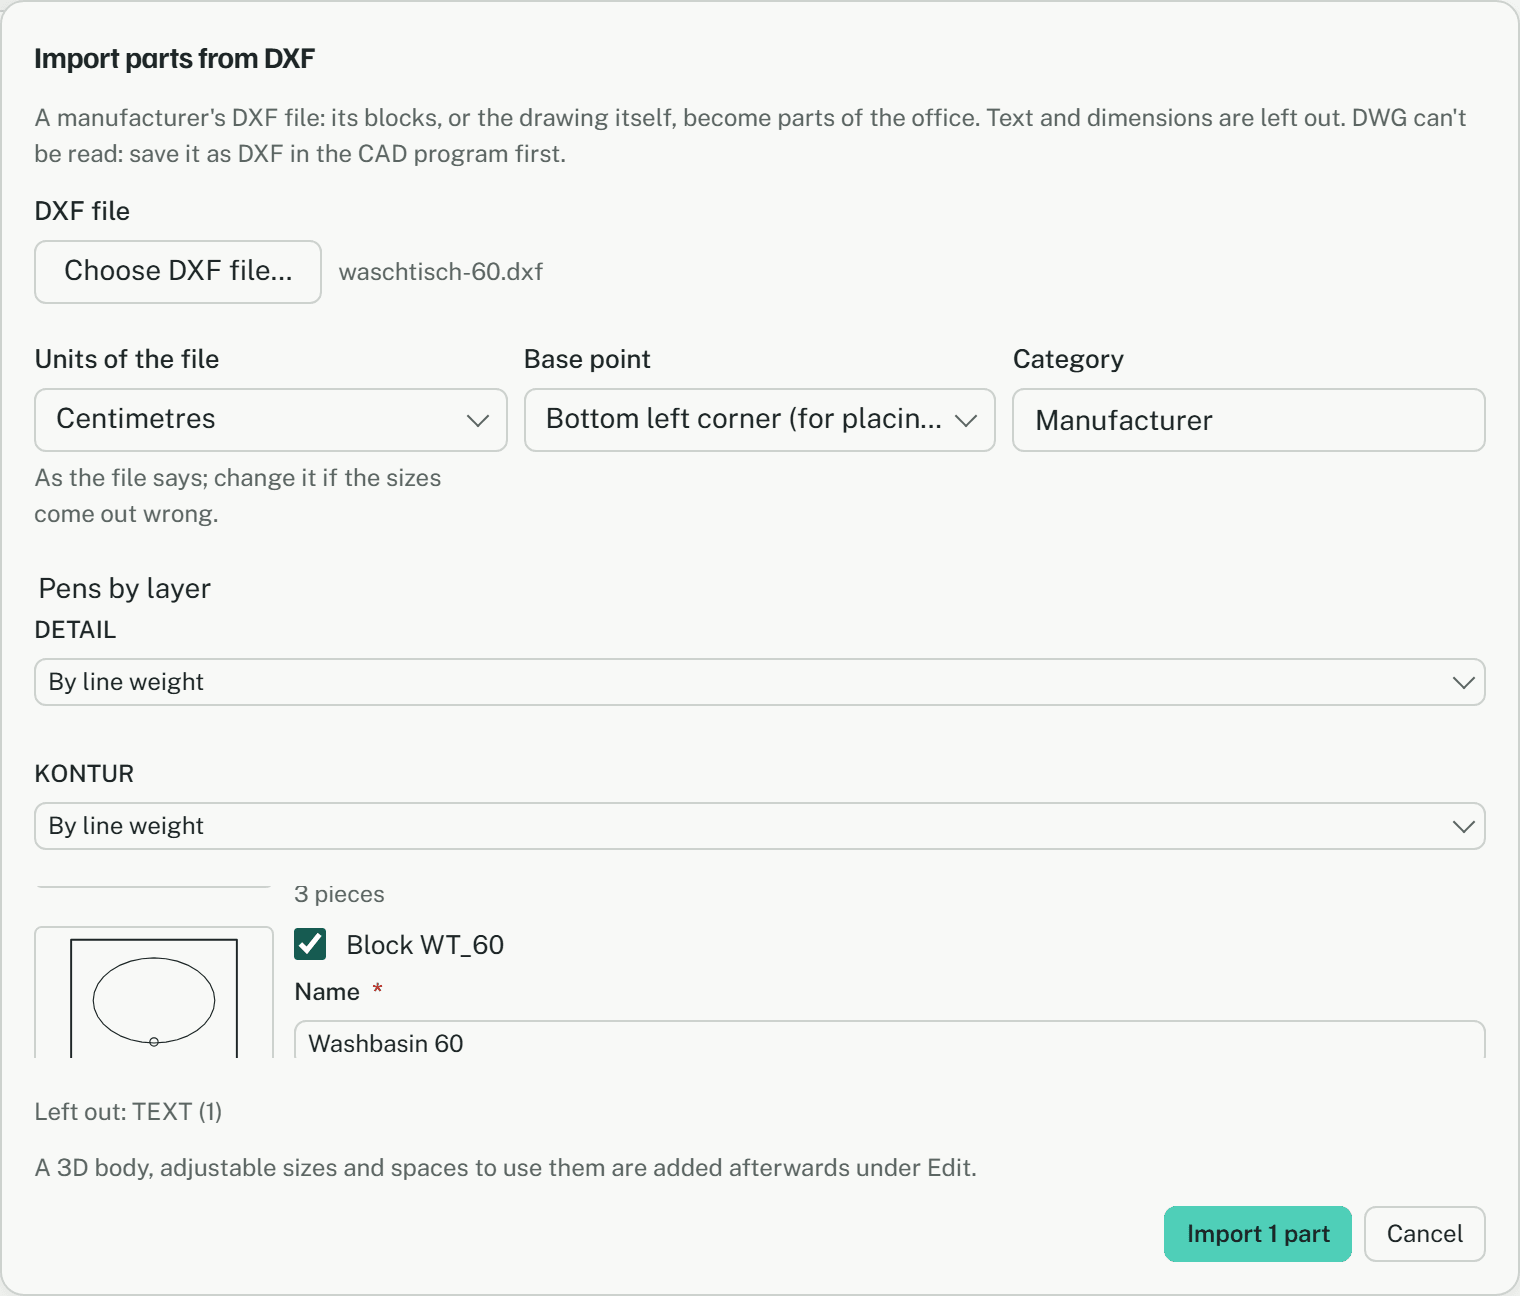
Importing a manufacturer's DXF
Owners and admins import parts from a DXF file on the Library page, tab Parts and objects:
- Choose Import DXF… and the file. Each named block is offered and ticked, The whole drawing only when there are no blocks. Give each a name.
- Check Units of the file: taken from the file where it says, else check a size in the picture.
- Pick the Base point: the bottom left corner, for placing against a wall, or as in the file. Then a Category.
- Under Pens by layer, keep By line weight or give a layer its pen. Then Import … parts.